
alcove shelf 48mm primed
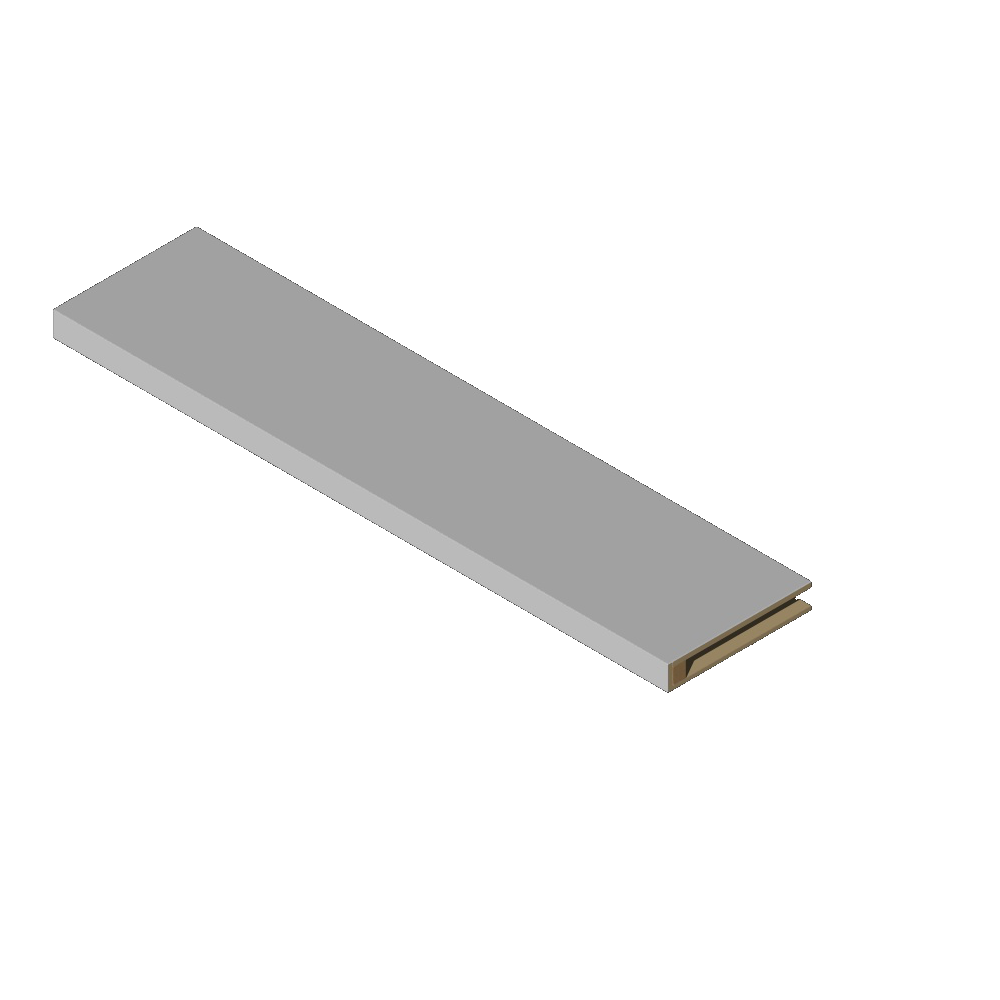
alcove shelf 48mm primed
width 28cm x height 4.8cm
primed mdf
Made from softwood & mdf. The top, front & bottom sections are mitred so no difficult mdf edges to paint. Can be used for all wall types & trimmed to any size below the selected length & down to 200mm approx on the width
comes with side & back wooden batons, screws & brown rawlplugs
—————
ALCOVE SHELVES - FITTING INSTRUCTIONS
Tools required (ideally): Drill with hammer action, cordless drill/driver, small spirit level, tape measure, hammer, carpenters square, pull saw or other hand saw, 7mm masonry drill bit (for brown wall plugs), block plane, mastic gun. Materials required: decorators caulk, three strips of ply/mdf to make a template.
Prior to fitting put down dust sheets down to catch the dust from drilling.
To install the shelves:
1. Mark where the top of the batton should go on the centre of the back wall.
2. Working from the top fix the battons for each shelf, first fix the back batton; put in the middle screw first then level using the spirit level & put in the screws either side. In a similar way fix the side battons.
3. With all the battons up you are ready to trim & fit the shelves. Screw 3 strips of mdf (or any rigid sheet material) together to make a template of the size & shape of the alcove minus approx 2mm on the side. Check it will slide out of the alcove & adjust accordingly. Draw around it onto the shelf. Use the carpenters square to mark off 90 degrees on the front of the shelf. Using the saw trim the shelf to size.
4. Slide the shelf onto the battons. If slightly too tight to fit, mark where it needs to be trimmed and plane/sand down. Scribe & trim down the back of the shelf to match the contour of the back wall.
5. Once all the shelves are up you are ready to fill any gaps with the caulk, apply with the mastic gun. Caulk should be left for 12 hrs to dry completely.
6. Once the caulk is dry retouch the caulk to match your wall colour.